senior project
improvements
Before starting the development of our immersion heater, we met with the senior project group to get ideas and improve the manufacturing of the prototype.
Although their prototype facilitated the manufacturing of our immersion heater, we did not use it as we implemented some changes to the development process.


square one
Just like we did for our ISEC, we began by linking 22 diodes and soldering them together. Instead of using the necklace method to bind them we used a twist method and bonded copper wire with solder for extra thermal conductivity.

piped up

We then bought aluminum tubing with a width of 1/2 inch. We cut it to one meter using a hacksaw.


After cutting the tubing, we coated the inside with a mixture of JB Weld, thinning it out using acetone. We did this to reduce the chances of the current running through diode chain shorting out.


We began bending the tube to better fit the pot we are to immerse it in. We used the tube bender to do so and bent it according to the model.

final touch
We drilled a hole in a regular enamel coated pot lid to release the cables to be connected to the solar panel
bending the rules

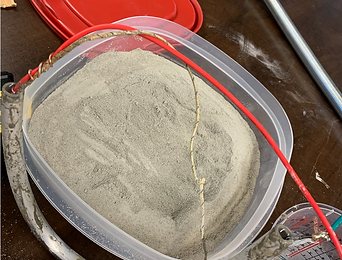
We filled up the tube with a mixture of mortar and water for better thermal conductivity.

